When I first started this blog, I was an unemployed costumer attempting to create period gowns and costumes with very limited means. Although now employed, I still try to be as thrifty as possible. I am still "The Broke Costumer"!

In addition to posts about the outfits I make on a budget, this blog includes short research articles on fashion, history, accessories, styles, or whatever interests me at the moment.


I hope you enjoy my journey into the land of inexpensive costuming and short articles.


Wednesday, February 25, 2015

My First 1830s Dress

Several of my friends have lovely 1830s dresses.  I have always resisted making one for a few reasons.  First, most of them have slightly off the shoulder bodices, which I cannot wear because of my scoliosis.  Second, I am not much of a fan of the style in general.  I saw a friend who had made an 1830s dress and it was real cute on her, and had a high neck!   It was Past Patterns 1830s Full High Gown.
I will say that this is a very easy pattern! It seems to run a bit large, so I would make at least a mock up of the bodice.  There is a fitted under bodice, and a larger over bodice that I actually pleated down front and back so it wasn't so blousy.

I went shopping in Val's fabric stash and purchased 4 yards of cute cream, rust and green mini floral.  It was perfect for a day dress.


The first thing I made was a quilted petticoat.   I used maybe 2 yards of quilted fabric that I got at Joanns on sale.   I made a waist band and pleated it on to the waistband. I cut several inches off the bottom after the dress was done.  Because the fabric is so thick, you have to put a cotton petticoat over the quilted one or your dress will get stuck in the pleats of the quilted fabric.  Here it is before I cut off the bottom.


For accessories, I got a belt buckle at the antique show that Val found in a pile, and it was only $2.  The bonnet was from Austentation.com - a plain green felt bonnet for $18.   My thought was it would bring the green out of the print in the dress, but when it arrived it was a lot brighter green than I thought it would be.  More of a kelly green. I had bought a pelerine from Etsy, and then received an email from the seller saying there was a death in the family, and she wasn't able to mail out timely, so she refunded my money. Imagine my surprise when a month later I received a shipping notice that it was on the way!  I emailed her back and said I needed to pay for it.   She said it was a gift because she made me wait :) 
Once I had the dress together, I had scraps of green and rust/pumpkin taffeta to make a belt.   The green was in no way close to the bonnet color, so I chose the rust.   I had a rust and cream color plume for the hat.  Well, the hat was still too green, so I decided to cover it in the same taffeta as the belt.  Here it is in the process of being covered.  I  pleated white cotton to line the inside as well.  Swapped out the green ribbon for brown.

Once the bonnet was finished, I put the whole outfit on for a test run.  I played around with putting tulle in the balloon sleeves, but I didn't like puffs that were as big as my head......   out came the tulle!

My basic day dress was done.  I had planned on wearing it in the Dickens festival fashion show.   I wasn't real thrilled with the final look, but I tried :)  I will make myself another bustle gown and feel better about the outcome.

Val was sweet and made me a cute matching reticule. 

 Above, Cat wears her gorgeous late1820s transition gown.  Val is wearing a lovely jewel tone 1830s ensemble.  The fashion show theme was Villains.  I was Sarah Dazley, who poisoned two husbands with arsenic.  Here I am demonstrating how I did the dastardly deed!


Below are photos taken on stage, including one where I show my quilted petticoat with the cotton one on top.


Cost Breakdown

$16.00     Fabric
$18.00     Hat
$2.00       Buckle
$9.00      Quilted fabric

Total    $45.00

Wednesday, December 17, 2014

Happy Holiday Dress


Happy Holidays!

For my last outfit of 2014, I wanted to make something simple for the Costume Guild holiday dinner.  I had bought a beautiful black taffeta skirt from Val, who was selling some of her costumes.  A quick piece to make to go with the skirt is the Truly Victorian polonaise.  However, since I have made this pattern several times, I wanted something a bit different.  I decided to make it up as I went along.

I bought four yards of a faux silk red patterned fabric for $2.50 a yard.  First,  I cut out the polonaise body, but not the sleeves.  I decided to draft my own sleeves.  I didn't want the usual facings that go with this pattern, so I bought plain red cotton and completely bag lined the entire thing.  Not only did it give this limp fabric some body, it finished off the hem around the front, back and neckline very nicely.

Here is the basic body of the polonaise.  Note:  My dummy half-Maude (because its just a torso on a bar stool) is too big in the chest so my dresses never close in the front.  I use her for height and draping.  She works great for making skirts, just not bodices.   

Next I started playing with the bustling on the skirt back. To do this, I turned the polonaise inside out and draped it over the back of Maude. I sewed three long ribbons to the inside waist band, center, left and right.   I then pinched up sections and pinned to the ribbon where I thought the poofs should be.  Once I had my pinches pinned, I turned the polonaise over to view the effect.   I adjusted the pinned sections as needed.   Once satisfied, I sewed the pinned on sections down.
 

For the front, I wanted to do something different for the bodice section.  I began folding the front of the square neck back, sort of like lapels, but this fabric is too limp.   I bought a small piece of black brocade and some matching buttons.   I made two sides to a square vest-like insert, and put in 10 buttons and button holes.  There was no pattern to this, so I started fooling around with placement. I put on the polonaise, and pinned the brocade insert to the front opening.  I then starting folding, turning and pretty much played with it until I found a V formation I liked.  I sewed the two front sections of the polonaise to the brocade insert.  On the inside, I cut away the excess fabric.

For the neck trim, I got inexpensive black ribbon which I pleated and sewed around the neck opening and down the V.   I had a scrap of red and white trim that I sewed on top of that. Next, I bought four yards of black pom pom fringe and put all around the bottom edge and up the front of the polonaise, and the three back pieces of the polonaise.  Finally, I added a black satin bow to the waist.


Truly Victorian sleeves are two pieces, an outer and inner sleeve.  I wanted one continuous sleeve that did not have two seams.  For these sleeves, I used for a modified straight sleeve pattern from a Simplicity dress I liked.  I made a pattern from an old sheet and basted it in the polonaise armhole to see if it would fit.  It worked!  For the cuffs, I used the rest of the black brocade, pleated more ribbon around it and added 1/4 inch red ribbon on top.
I ran out of time to put boning in, but that will go in soon.


Not too bad for a quickie project :)


Taken by Debbie Boyd


Cost breakdown:

$10.00  Red faux silk   4 yds @ $2.50         
$10.00  Red cotton lining 4 yds @ $2.50      
$4.00    Black brocade 1/2 yd @ $8.00         
$2.50    Buttons                                           
$6.00    Pompom trim 4 yds @ $1.50          
Black ribbon - stash
                    TOTAL                 $32.50

Saturday, November 29, 2014

A Throwback Post - Repo! The Genetic Opera

While I am finishing up my current holiday outfit, I thought I would post some photos of costumes I made for a production of Repo! The Genetic Opera back in 2010.  While this movie is not for everyone, the costuming was fun to do!  Costuming was done on a near non-existent budget, so it fit right in with the Broke Costumer's ideals.  The actors perform on stage with the movie playing on the screen behind it, similar to midnight showings of Rocky Horror Picture Show.

The first costumes I made were "GENtern" costumes (kind of a sexy nurse).  I made 6 white and 1 black.  All were made from  doubleknit and only took about two yards each, as they were very short, as you can see.  Easy slip on over the head with a velcro neck for a closure.  We made the red masks from red acetate and elastic bands.  Here is a shot from the movie, a few of the girls, and the pattern I used and modified.


The next costumes I made were for the character Amber Sweet, played by Paris Hilton.  Amber is in many of the movie's scenes. There were a few actresses of different sizes who played the role, so I had to make Amber's costumes to fit any size girl, and that were easy to get in and out of. 


 For this costume, I ended up getting a $12 white corset on ebay and added a large modesty panel in the back, so it could expand or cinch down.   Black and White yarn was attached to the bottom of the corset all around to just below the knee.  I used cheesecloth on the corset and stretched it out like cobwebs and hand sewed it on.  No pattern used here.  Here is a shot from the movie, and two different sized actresses.


I also made for Amber a black strap skirt with D rings for another scene.  Again, no pattern was used, just fitted to the actress' body.   Here is Paris Hilton on the left and the actress on the right. Uncanny resemblance!


In another scene, Amber is wearing a pink print dress with yarn flowers around the bottom, and a short purple wig.  I found a cheap polyester print that was as close as I could find.  For the bottom, I simple sewed those fuzzy pompoms all around the hem.   Easy on and off, pulls down over her head.  The hardest part was finding a short purple wig.   I ended up getting a long one and giving it a haircut!  Here is the movie shot, the actresses and the pattern I modified.


 The last one was a challenge.  Amber appears on stage in an extremely short and very wide 18th Century gown.  I found a Halloween pattern similar to what we needed, but the problem was the under structure. With a zero budget, I had to come up with something for huge panniers that were lightweight, and could be taken off and on quickly.  I went to Big Lots looking for something.   I found some plastic lawn edging for $5.  I was able to bend it into a very strange structure that fit around the actress' hips, and  to keep its shape, tied cords around and around it.  This was covered in scrap fabric and then attached to a thin belt so the actress  basically stepped into it and  fastened the belt.  I don't have a photo of it, as it was tossed a few years ago. Here is the movie shot, the actress and the pattern I modified.  Yes that IS a Paris Hilton mask.  In this scene her face falls off from too much plastic surgery, which is why she is bloody is some photos.


So there you have it!  A fun, one of a kind costuming project :)

Thursday, October 2, 2014

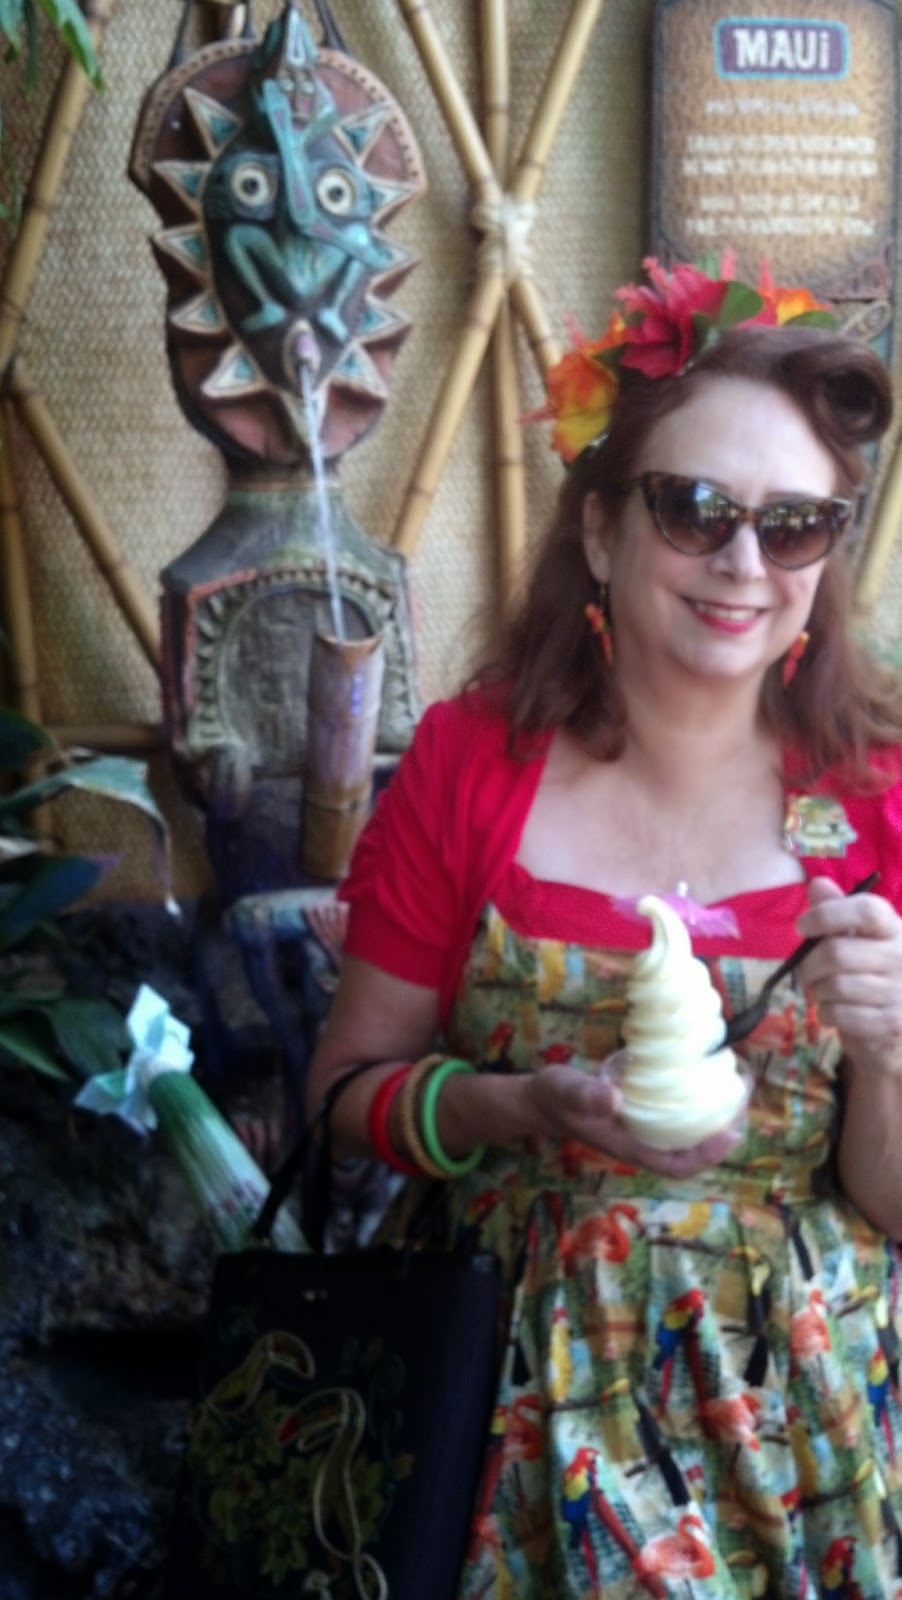
Tiki Day at Disneyland!

I am sitting in the front, just right of center.
 Amy and I had a blast at Tiki Day.   We had been planning on going for several months, and wanted new dresses for this fun day.   I was itching to make Butterick 5882.   When I was at Costume College, there was a lady at the pool party who had on the cutest dress with birds on it.   I just loved the fabric!  She was kind enough to tell me she got it at Joann Fabrics.  I went to one Joanns and they didn’t have it.
 

I went to Yardage Town, and found a real cute tropical bird print - and there was only a smidge less than three yards :( They told me the warehouse in National City would have more, so I took the risk and bought the end of the bolt.  A week or so later, I went to the warehouse.  We went through the rows of stock twice.  Nothing.  Well darn, can’t make a dress with less than three yards. 


Butterick 5882
The "almost a dress" fabric


As I was leaving the warehouse, I remembered there was a Joanns down the street.  I popped in, and there was the fabric!  I had a 50% off coupon, and a cellphone coupon for 15% off on top of that.  It was originally 4 yards at $10 a yard, totaling $40.  50% off made it $20, then another 15% off of the $20 made the final cost $17!

I did some modification to the pattern.  First, I wasn’t too happy with how low cut the front was.  I am small busted and like a higher, more modest bodice.  The pattern has you cut two bra shapes, and two more pieces that are pleated and sewn on to the bra shapes.  I tried this, but it basically flopped around and had no fit to it, sticking out away from my bust so you could look right down the front.  Then I had an idea.  Since I have a second dress cut out for this same pattern, I decided to cover an actual bra that could be used for both dresses!   The straps and bodice pieces for both dresses were made from red scrap in my stash, so I went to Walmart and found a red bra that was a near perfect color match!  I pleated it my own way over the bra, filling in the middle where cleavage would normally be seen.  It worked great!

The pattern calls for the entire dress to be lined.  I did not line the skirt, there was no need to.  I wore a crinoline under it.   I did line the bodice and sewed lightweight boning to the seams.  I added a little red shrug to the dress, and all done!

The second dress I am making from the pattern is my Route 66 dress.  I worked out all the bugs on the first one, so it should go fairly quickly.  This dress was FREE!! I sold one of my vintage purses, and with part of the money I got the Route 66 fabric.   This dress is perfect for vintage car shows.  The rest of the purse sale money went to fabric too, but I will save that blog for later.
Fabric:  $17
red fabric and lining:  stash scraps
boning:  $2
zipper: $2
red bra: $8
TOTAL   $29              

Elizabeth and me


Amy's dress was an easy pattern, McCall's M6958, view A.  Just 3 1/8th yards.  I made it in a day. A great plus size pattern, as it has vertical tucks in the front and back that can be taken in and fitted to a curvy gal.  Cost for fabric at Yardage Town with discount:  around $15.  Zipper $2.


Amy, me and Elizabeth
I finally got a Dole Whip at the Tiki Room!


Boarding the Columbia.  We filled the entire ship!